When I first discovered the art of fermenting foods, I was fascinated by it. I did a little research and ordered a bunch of supplies online: jars, airlocks, fermentation weights, and whatever else looked useful at the time.
Then I headed to the market and grabbed a handful of things to play around with: peppers, baby cucumbers, cabbage, and a few other ingredients that seemed interesting.
I jumped right into it using the standard method of fermenting in a jar. It was a blast.
I’ve always loved science experiments, and now I was making an edible one. I enjoyed watching the ingredients and liquid in the jars bubble. I enjoyed the funky smells being emitted. And I loved the anticipation of making something that would hopefully be yummy.
I wasn’t a huge fan of the waiting and having patience, but I try.
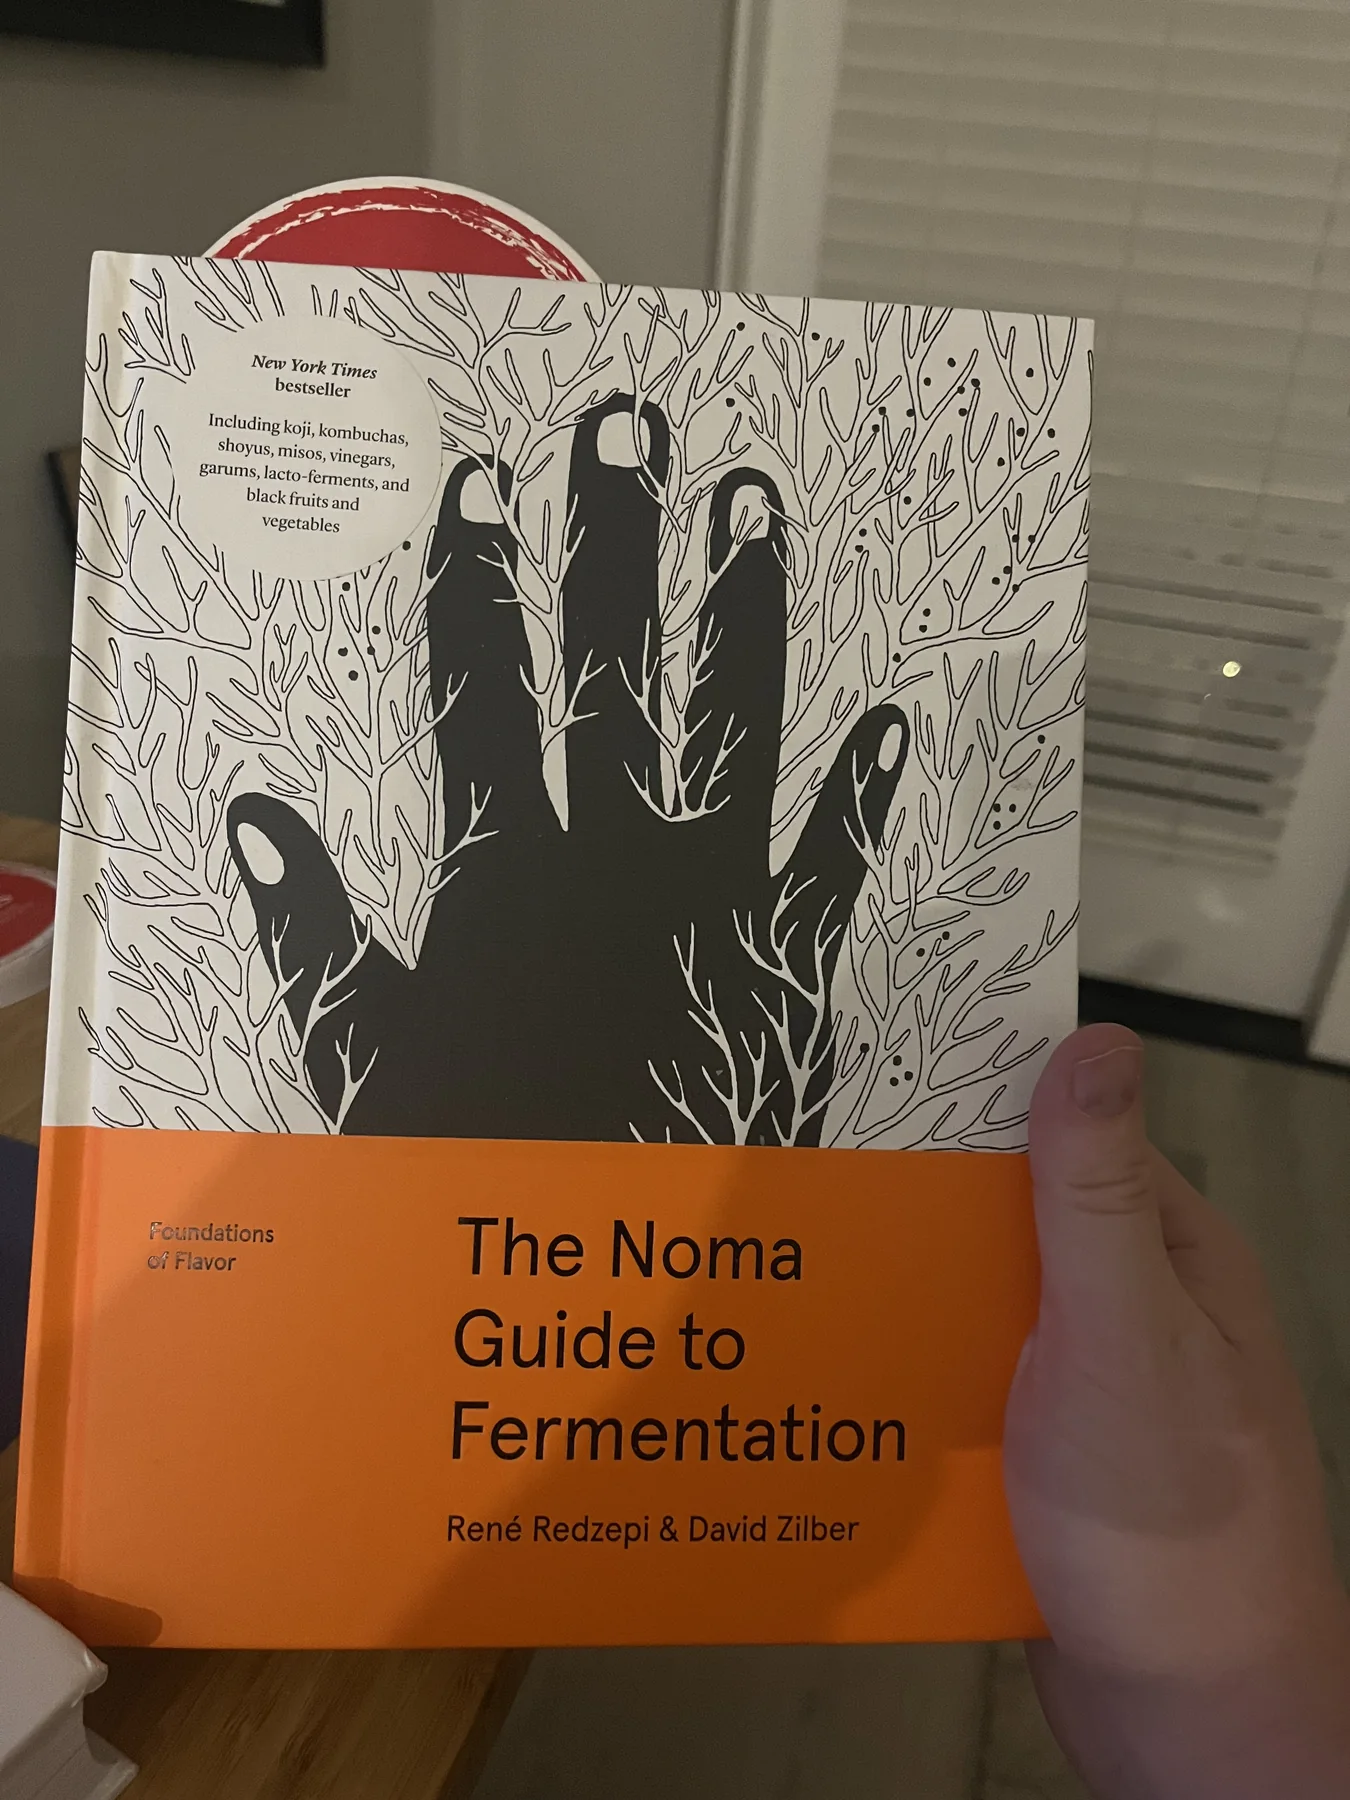
After a while, I wanted to understand more about what was actually happening, and I kept hearing about The Noma Guide to Fermentation. I picked up a copy and quickly realized they go far beyond the more traditional foods I had been experimenting with.
I started trying things like plums and cranberries, which are highlighted in the book, and generally looking for more things that probably didn’t need to be fermented but suddenly seemed like they should be. I also added the book to my Supplies page, because it’s one of the resources I still recommend most.
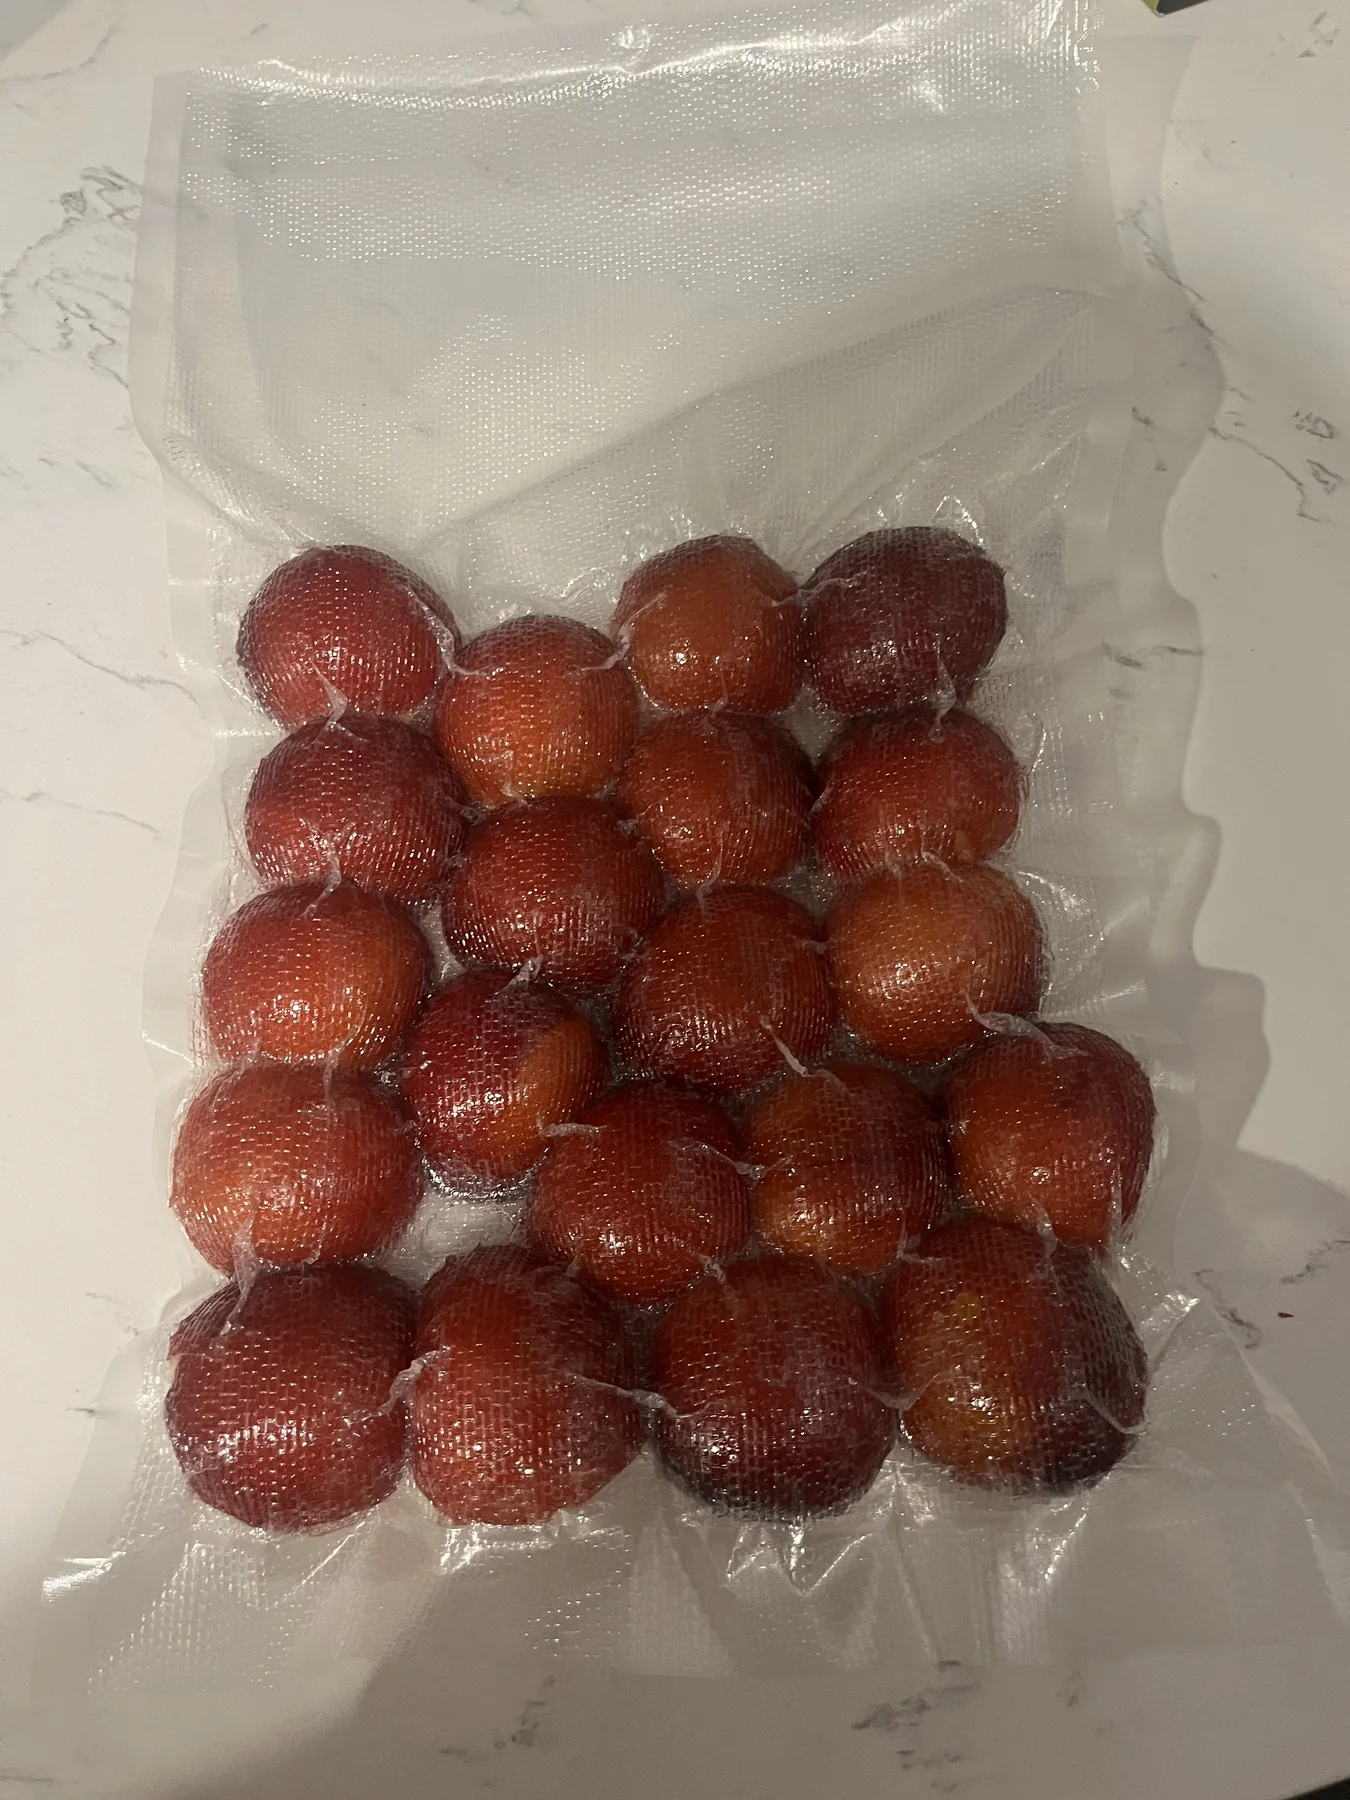
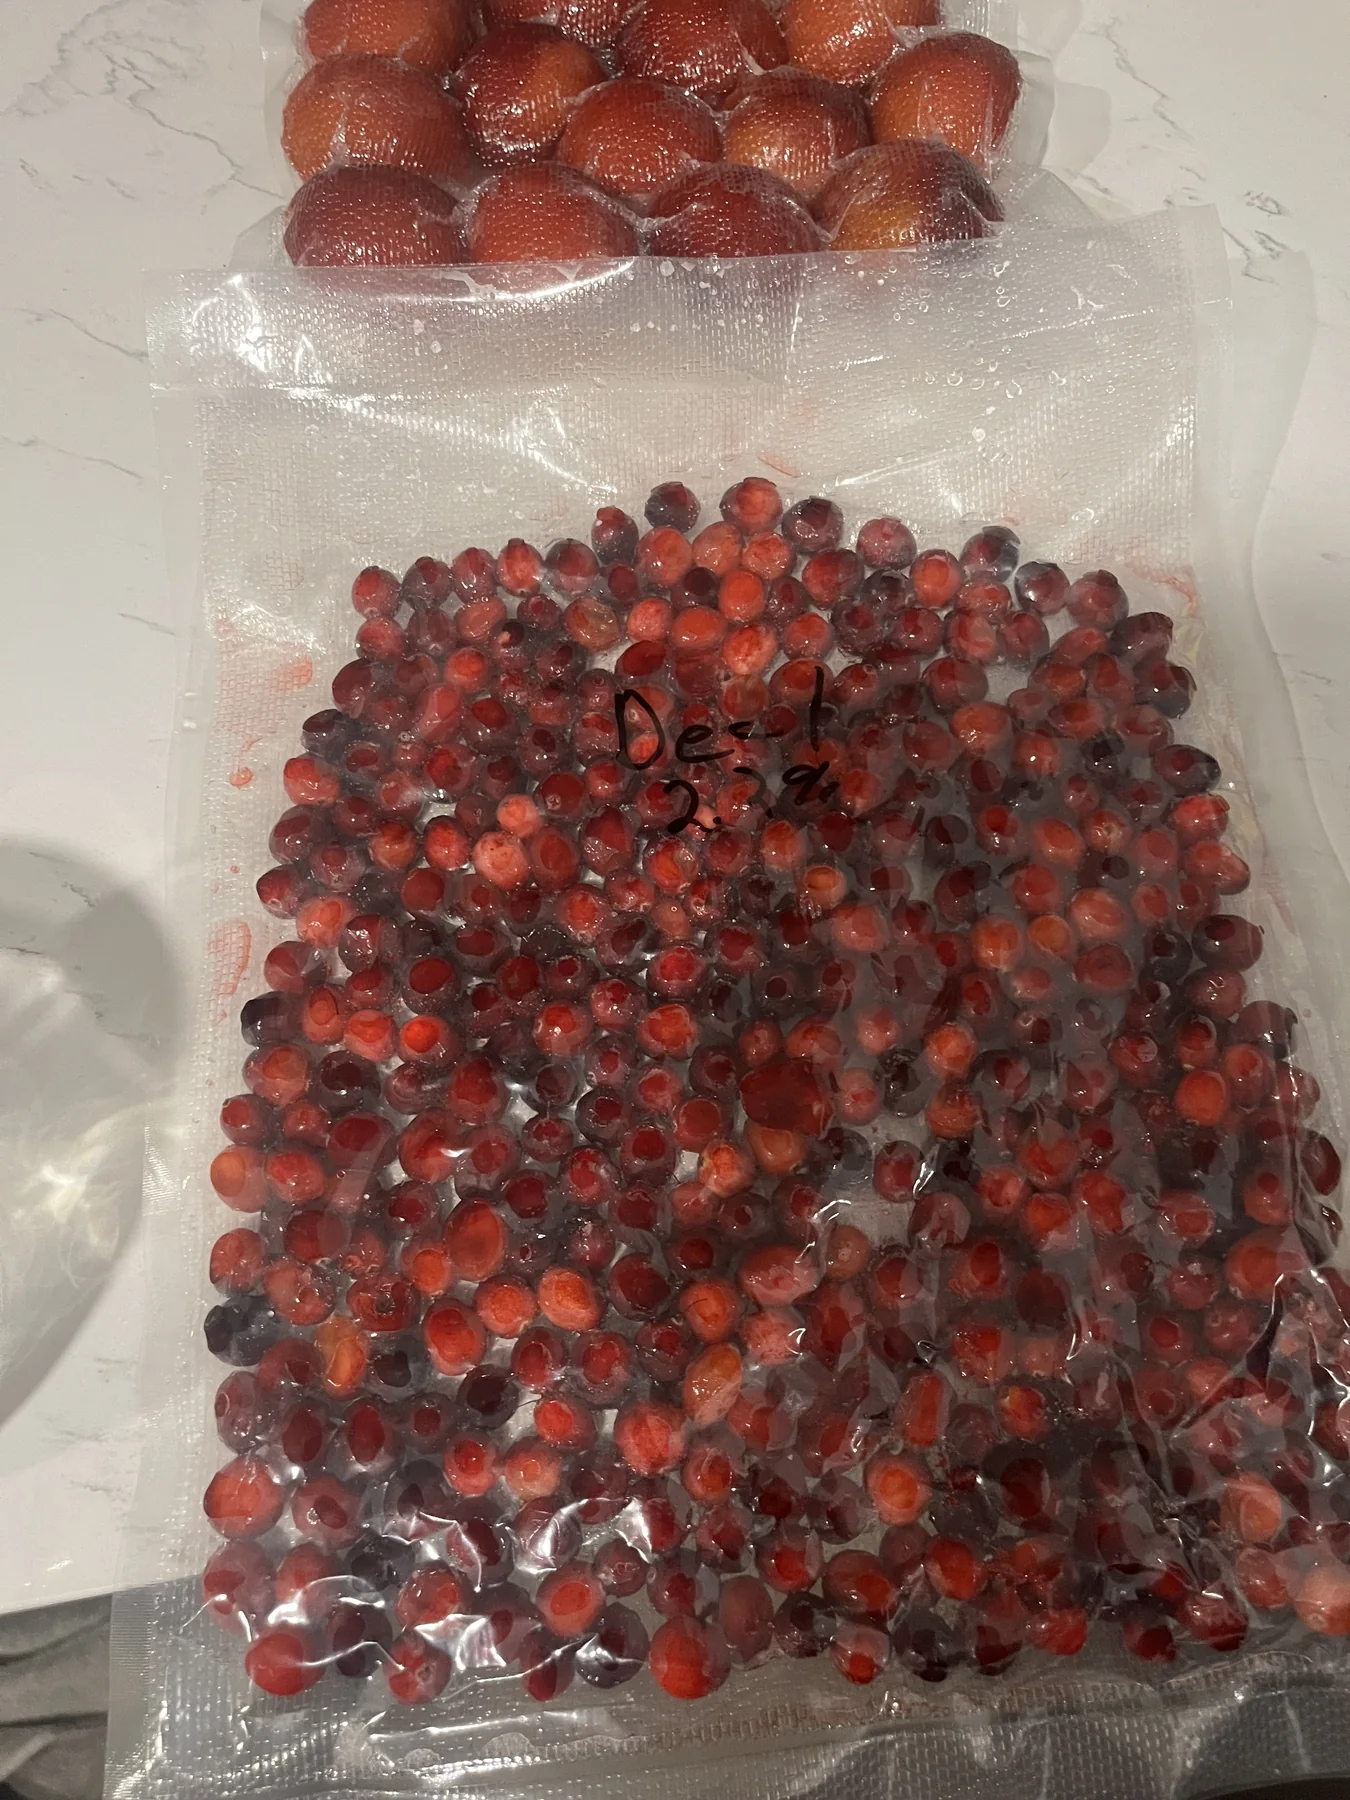
One technique that came up multiple times in the book was fermenting in vacuum-sealed bags.
Up until that point, I had only used jars.
So, sure enough, I headed online, bought myself a vacuum sealer, and went to work.
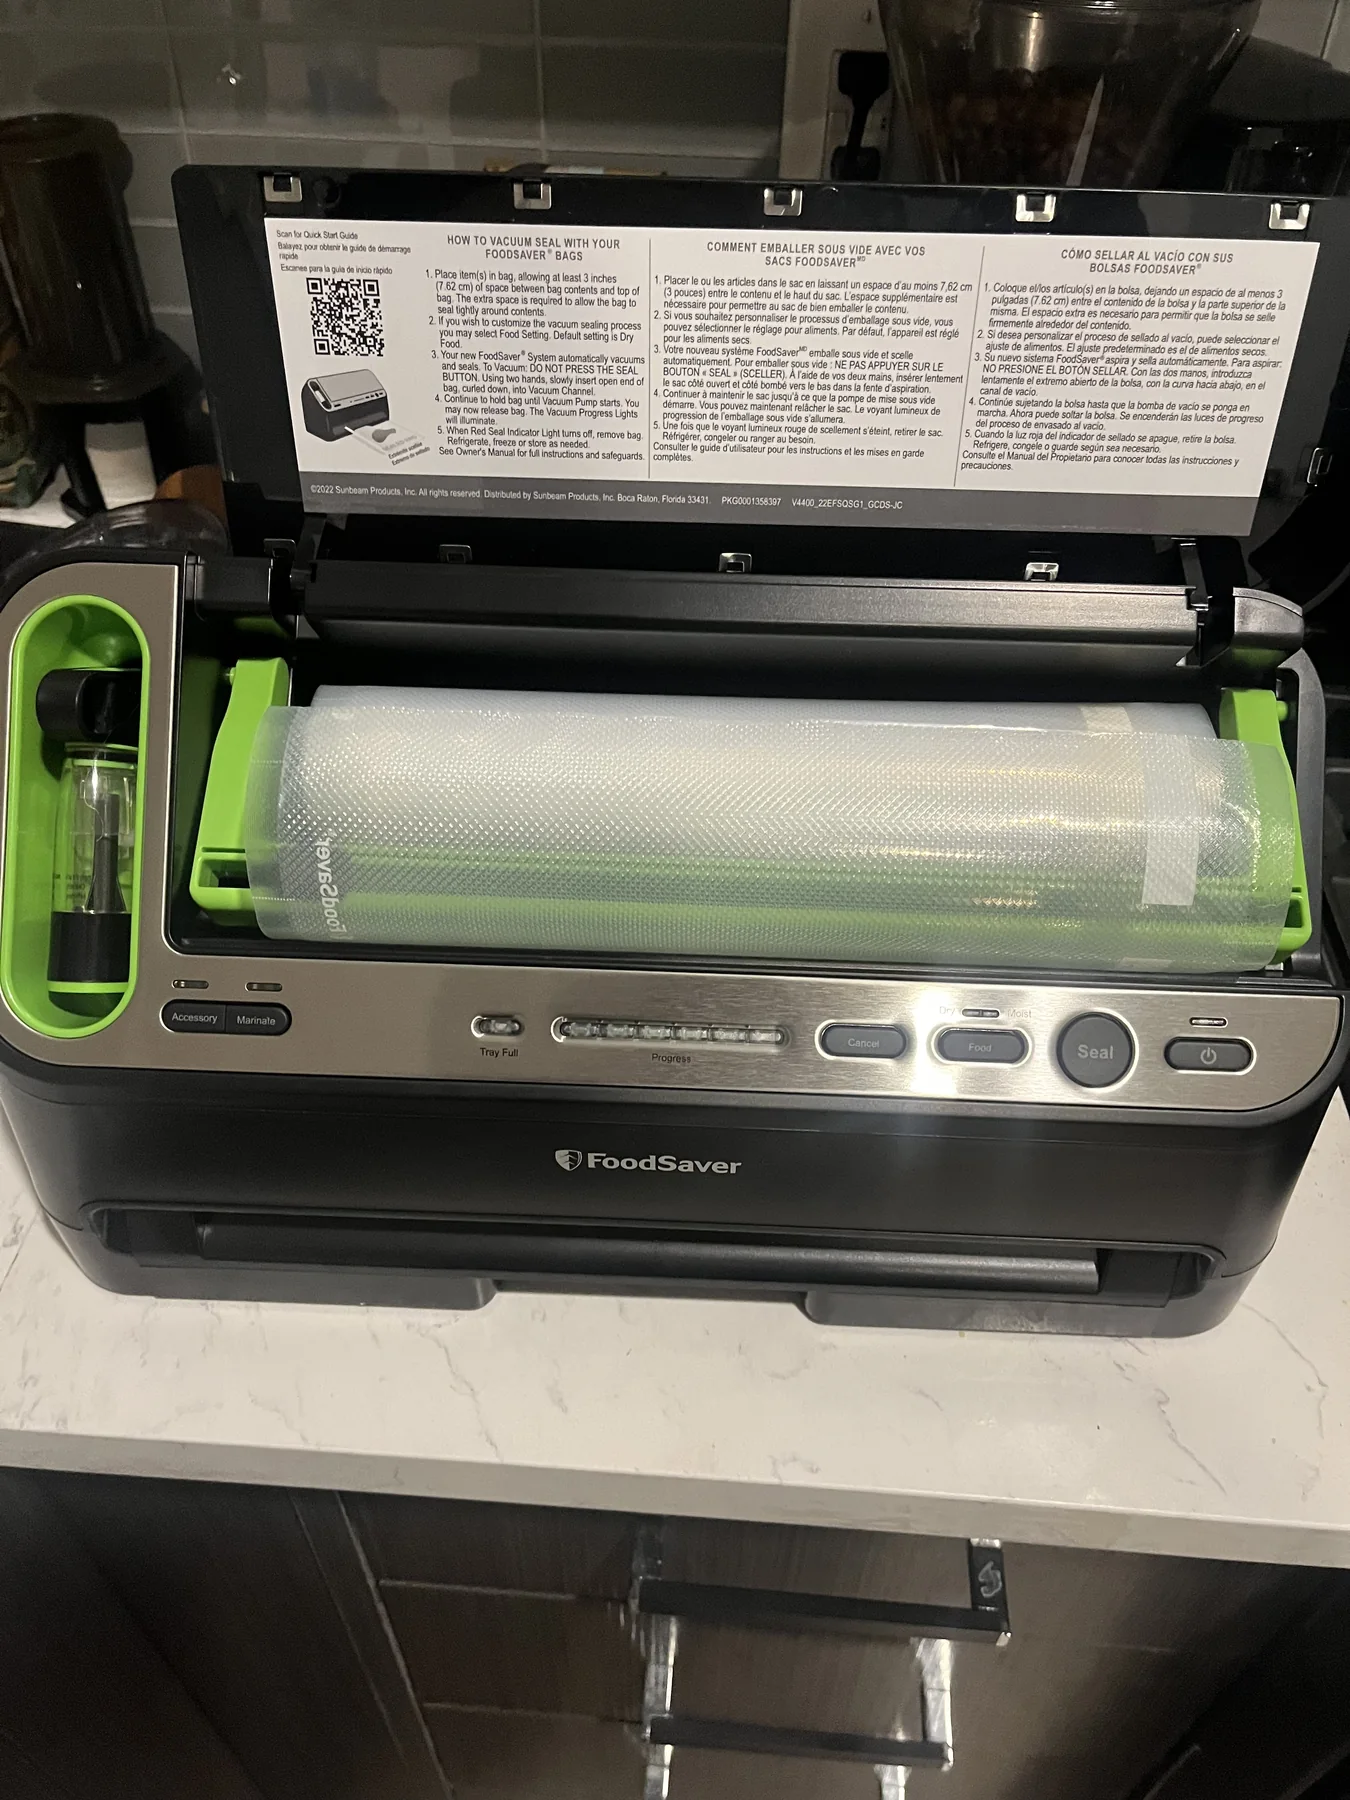
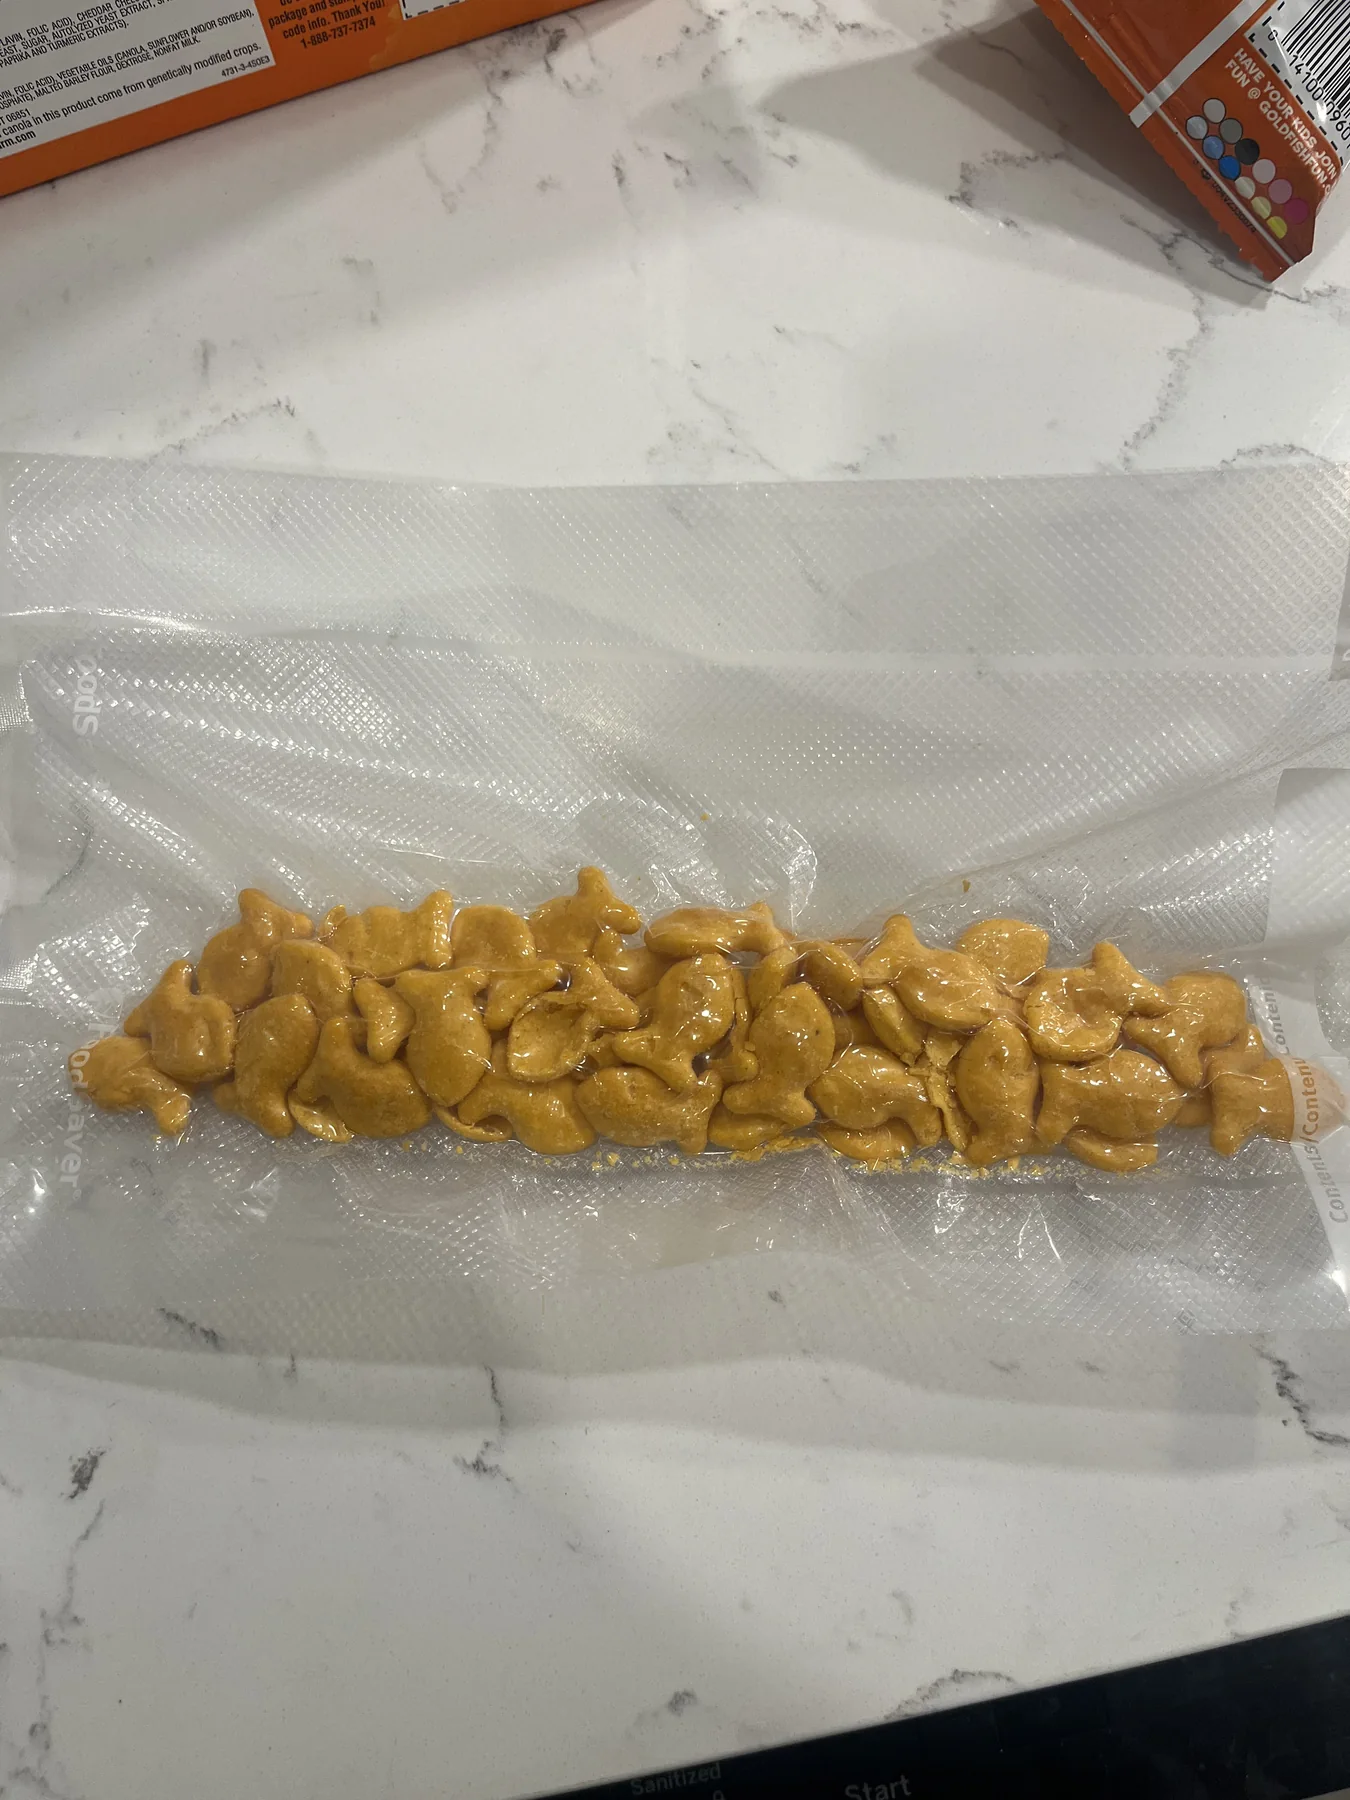
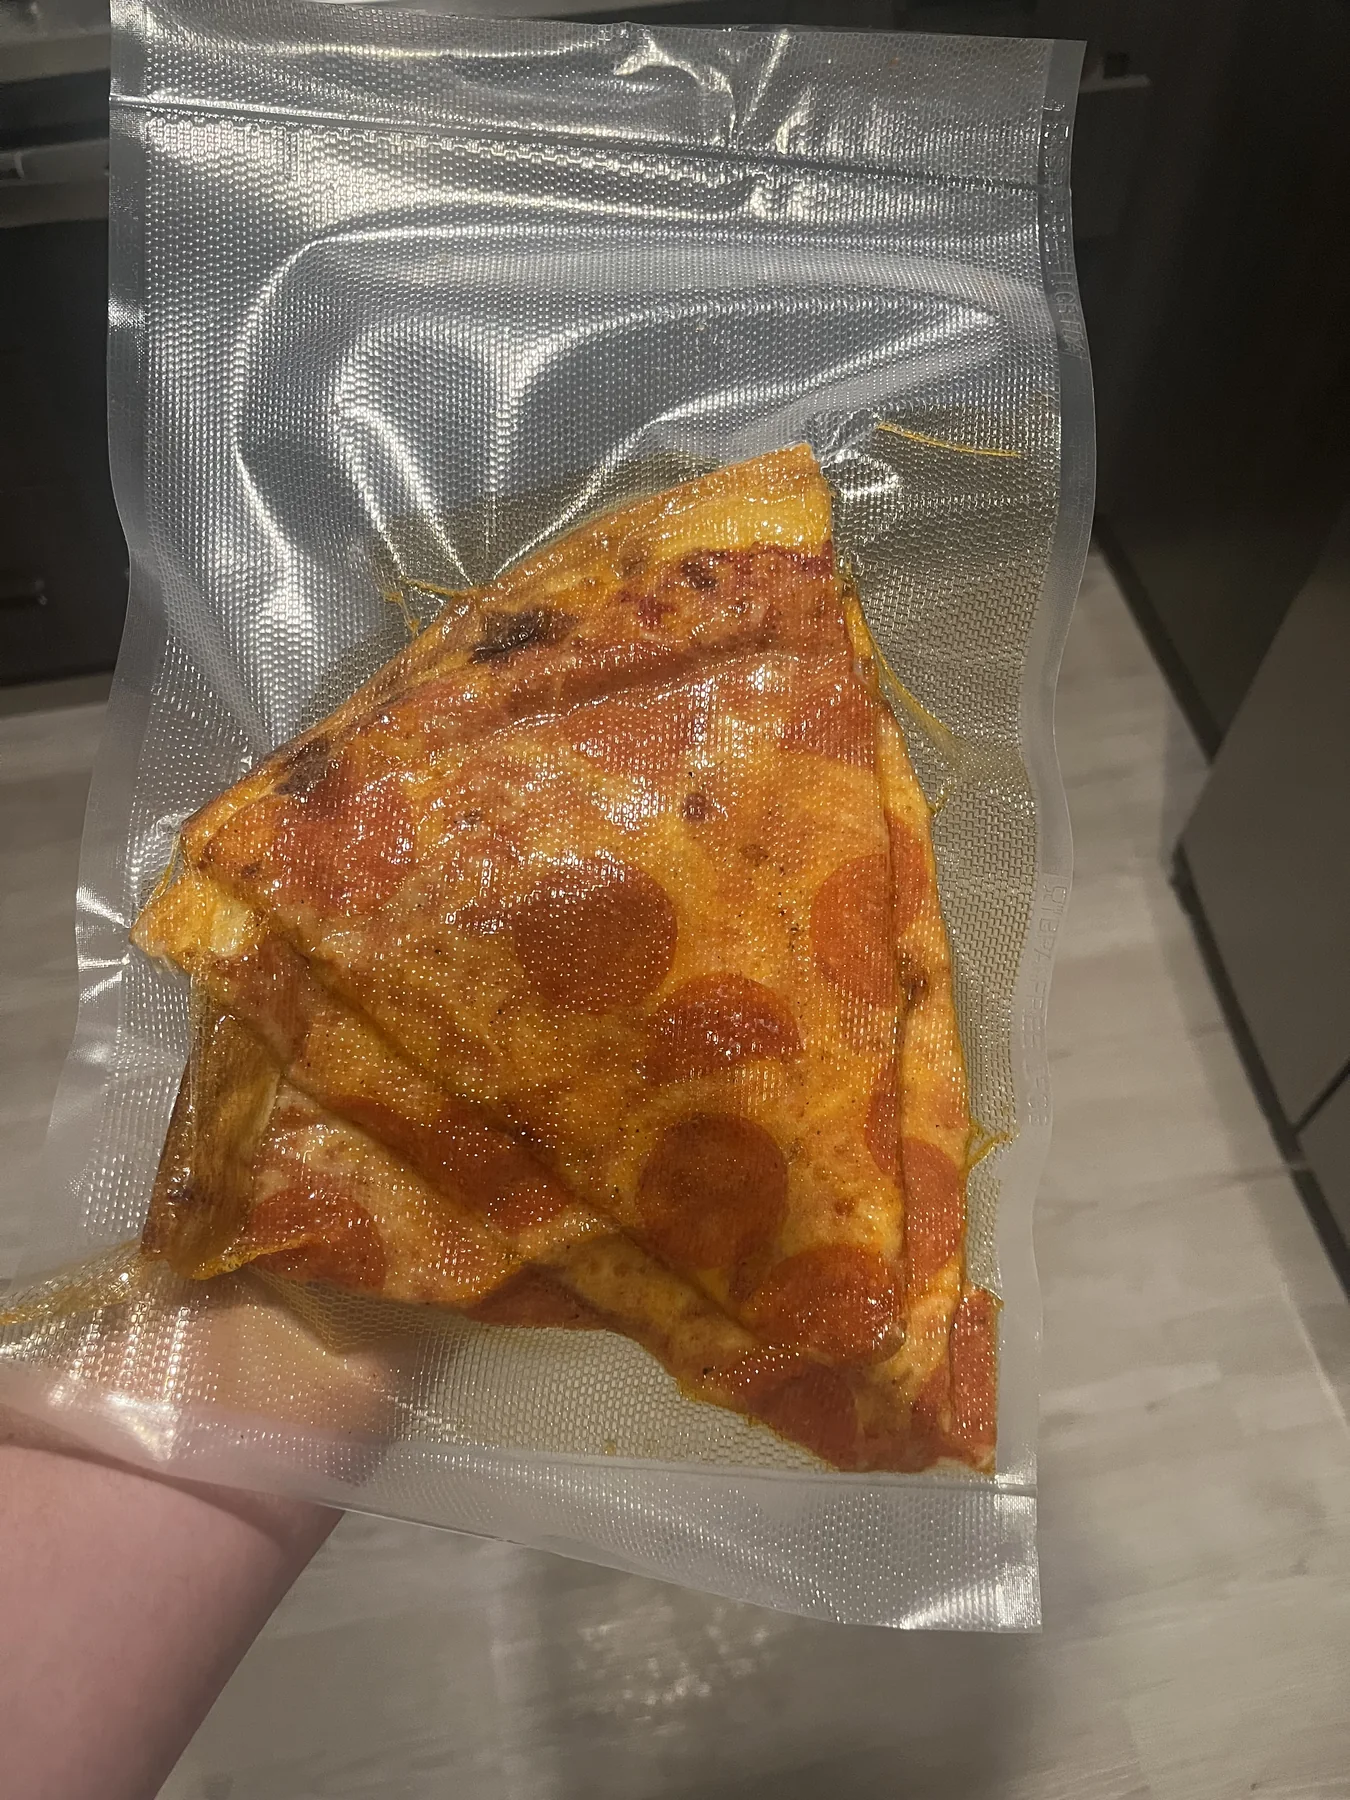
Before I trusted it with anything important, though, I obviously had to make sure the vacuum sealer worked correctly. So I did what any normal person would do and started vacuum-sealing random stuff around the kitchen.
Goldfish crackers. Muffins. A piece of pizza.
All traditional vacuum-sealer foods.
Once I had finished abusing perfectly innocent snack foods, it was time to try something I could actually turn into a sauce.
I started with two combinations I already knew I liked: jalapeño garlic and mango habanero.
The basic idea was pretty simple.
For the jalapeño batch, I used jalapeños, garlic, and onion. For the mango habanero batch, I used habaneros, mango, onion, and garlic.
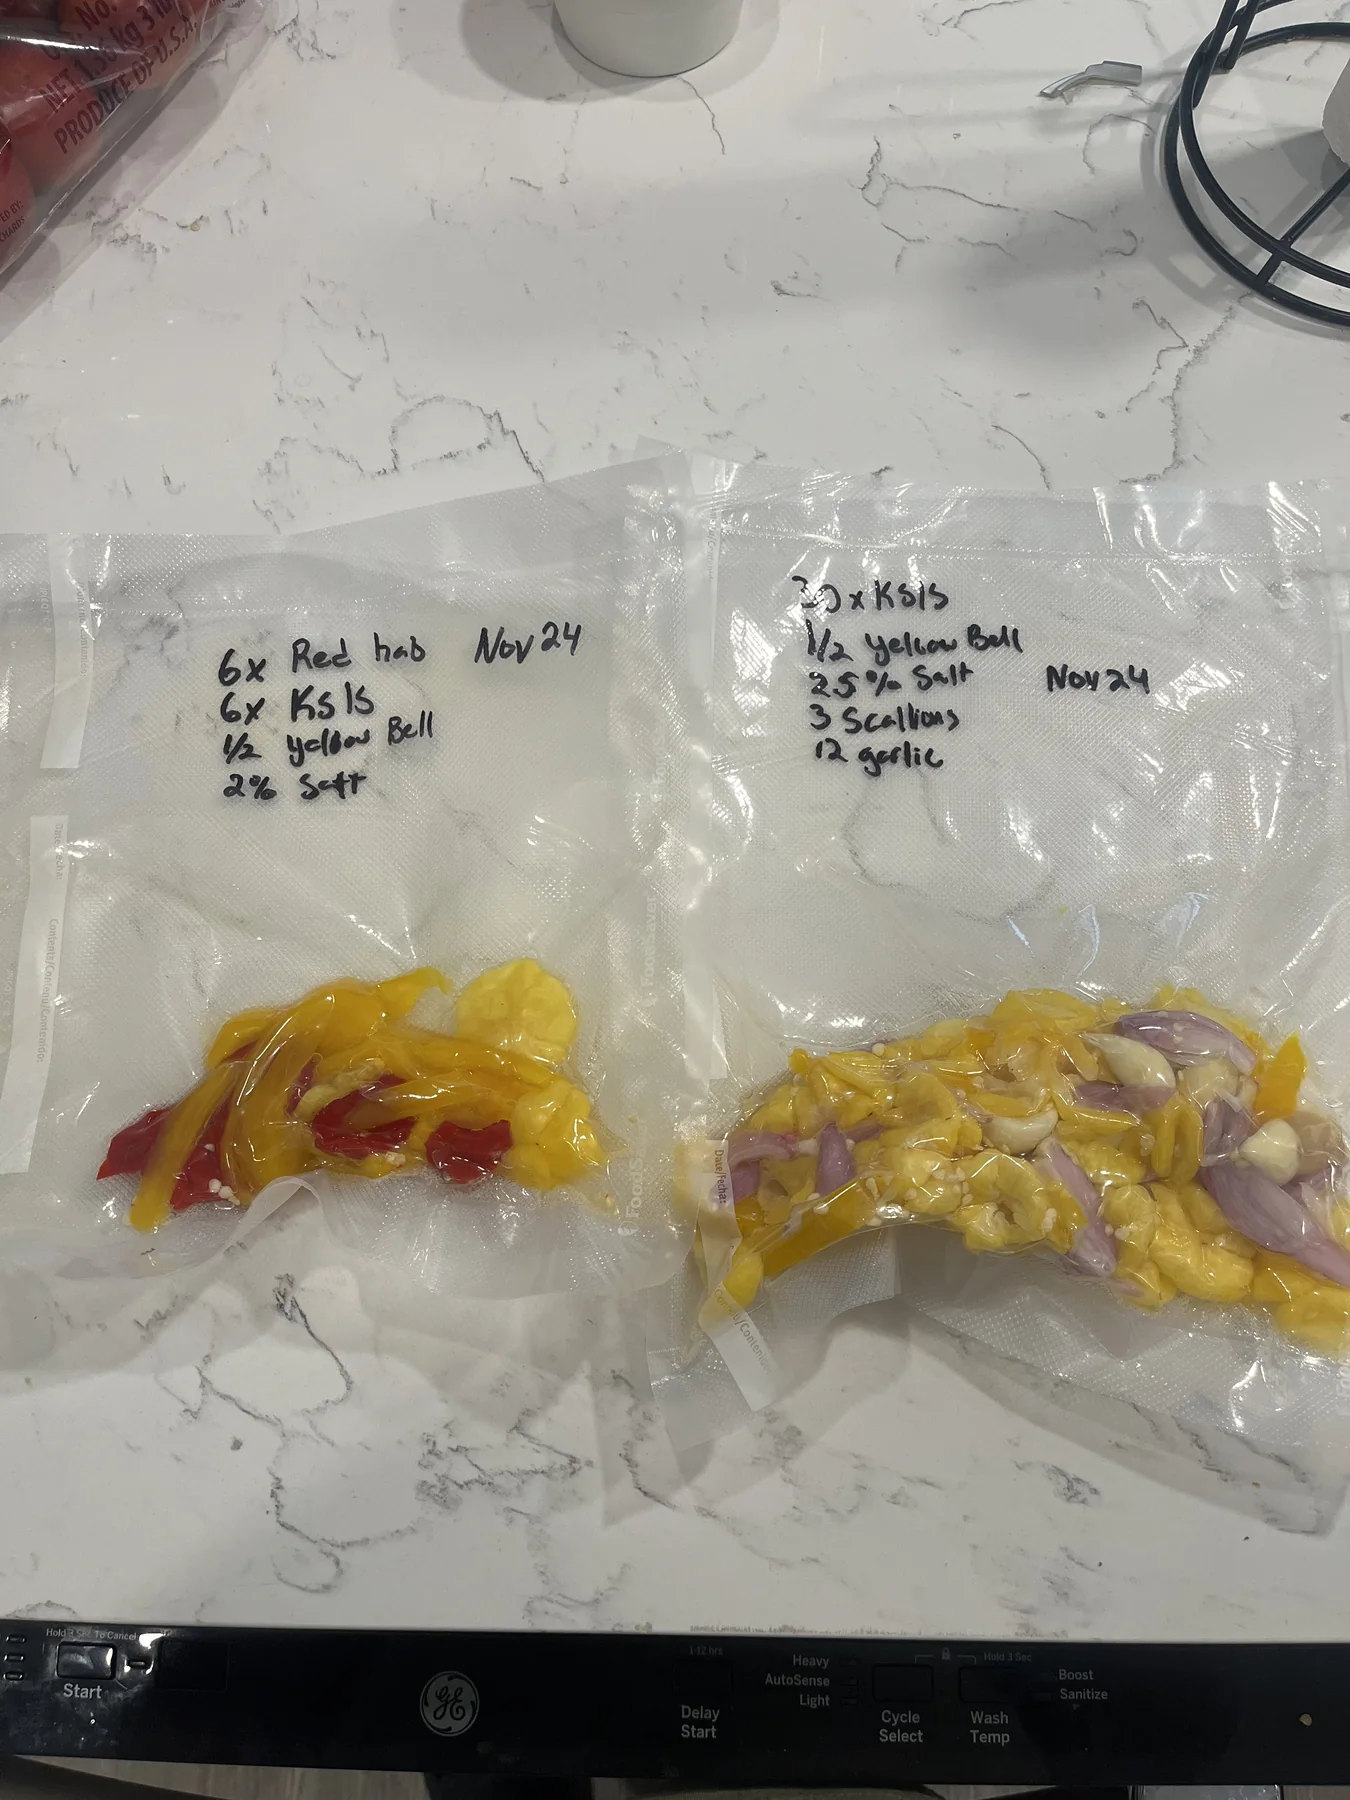
The prep process for a bag is pretty similar to a jar ferment. Chop up the ingredients, remove the stems and anything else you don’t want, and put everything into the bag.
I weighed all of the ingredients, calculated the salt by weight, added everything to the bag, and worked the salt around so it coated the produce as evenly as possible.
No added water.
Then I sealed the bags and waited.
And that’s when the fun starts.
For the first few days, things can be pretty quiet. But once fermentation gets going, the bag begins to expand as carbon dioxide is produced.
At first it might just look slightly puffy.
Then one day you look at it and realize you’ve created a big spicy balloon.
That’s also the point where you need to start paying attention.
With a jar ferment, an airlock can release the gas for you, or you can carefully “burp” the jar if necessary. A sealed bag doesn’t have that built-in escape route.
The cleaner method I’ve found is to snip a very small corner of the bag, carefully release the gas, and then reseal it with the vacuum sealer. It’s also helpful to leave some extra bag material when you first seal the ferment so there’s room to do this later.
I’ve experimented with making a tiny pinhole to release the gas and covering it afterward, but resealing the bag is the method I’m more comfortable with because you can restore a proper seal.
And I don’t recommend starting a bag ferment immediately before a vacation.
I did that once before a quick trip to San Diego. I was slightly worried about it, but assumed everything would be fine.
I returned home to a bag that was puffed to the max and about as hard as a basketball. That’s the furthest I’ve accidentally pushed one. Someday I’d like to sacrifice a bag to science and find out exactly how far one can inflate before it gives up. Preferably somewhere controlled, with a camera rolling and nobody standing nearby.
Anyway, back to the process.
I generally let my bag ferments run for about the same amount of time as my jar ferments, depending on what I’m making.
One of the biggest differences shows up when it’s time to make the finished sauce.
A traditional brine ferment gives you a decent amount of flavorful liquid to work with. In a vacuum bag, there’s no added water at the beginning. The produce will release some liquid while it ferments, but usually not nearly as much as you’d get from a jar full of brine.
I use all of the liquid that develops in the bag when I blend the sauce. From there, I’ll usually add some extra water as needed, along with the vinegar, lime juice, or other ingredients I would normally use, until I get the flavor and consistency where I want them.
The important thing is that I still treat the finished sauce the same way I would any other sauce: taste it, adjust it, check it, and follow my normal safety and storage process rather than assuming the fermentation itself makes the finished sauce shelf-stable.
So, Do I Like Bag Fermentation? Is It Superior?
I do like it.
I just don’t think one method is necessarily better than the other.
Jars are still probably the method I reach for most often, but bags are fun, compact, and surprisingly convenient. There’s also something oddly satisfying about watching a flat bag slowly turn into a giant spicy balloon.
Would I replace jars completely?
Never.
But if you already own a vacuum sealer, or you’re looking for another way to experiment with fermentation, it’s definitely worth trying.
With my fermentation experiments, I got to making sauces and found myself stuck here in this fascinating world. I need to explore more fruits and random items in the vacuum bag, probably not pizza again though. I’ll be sure to update this post with more pictures and stories as my journey progresses.